Studio Editor Features
User guide for Monaco code editor, interactive canvas tools, property inspector, canvas themes, and export options.
1. Monaco Code Editor
The left pane contains the Monaco code editor.
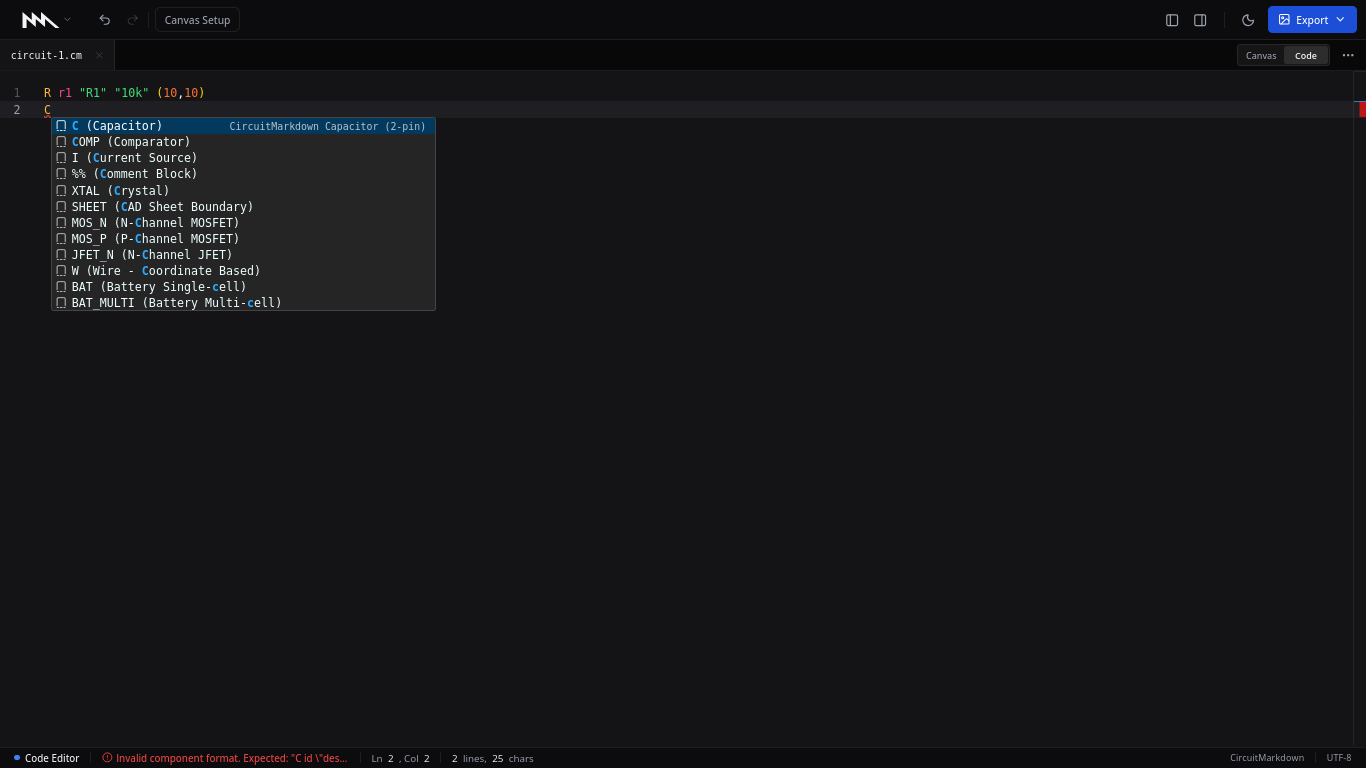
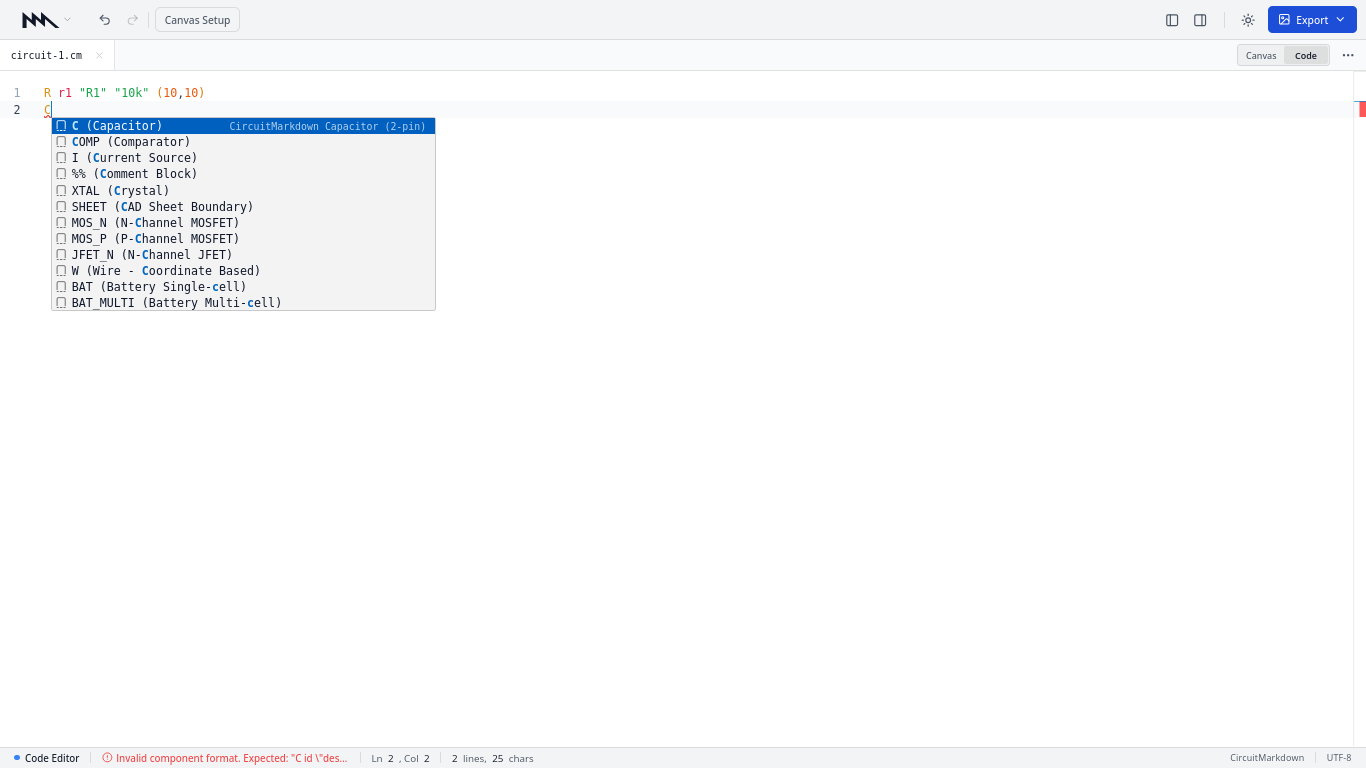
Autocomplete & Snippets
- Component Snippets: Type a component mnemonic (such as
R,C,OPAMP,NPN) to view template suggestions. PressTaborEnterto insert the template. - Option Autocomplete: Type a space or
=after coordinates to view parameter suggestions (such asorient=,size=,refpos=).
Syntax Diagnostics
- The parser validates code during input.
- When a wire contains an invalid pin or missing identifier, the editor highlights the line with an error marker.
- Hover the cursor over the marker to read the error message.
2. Interactive Canvas & Tool Modes
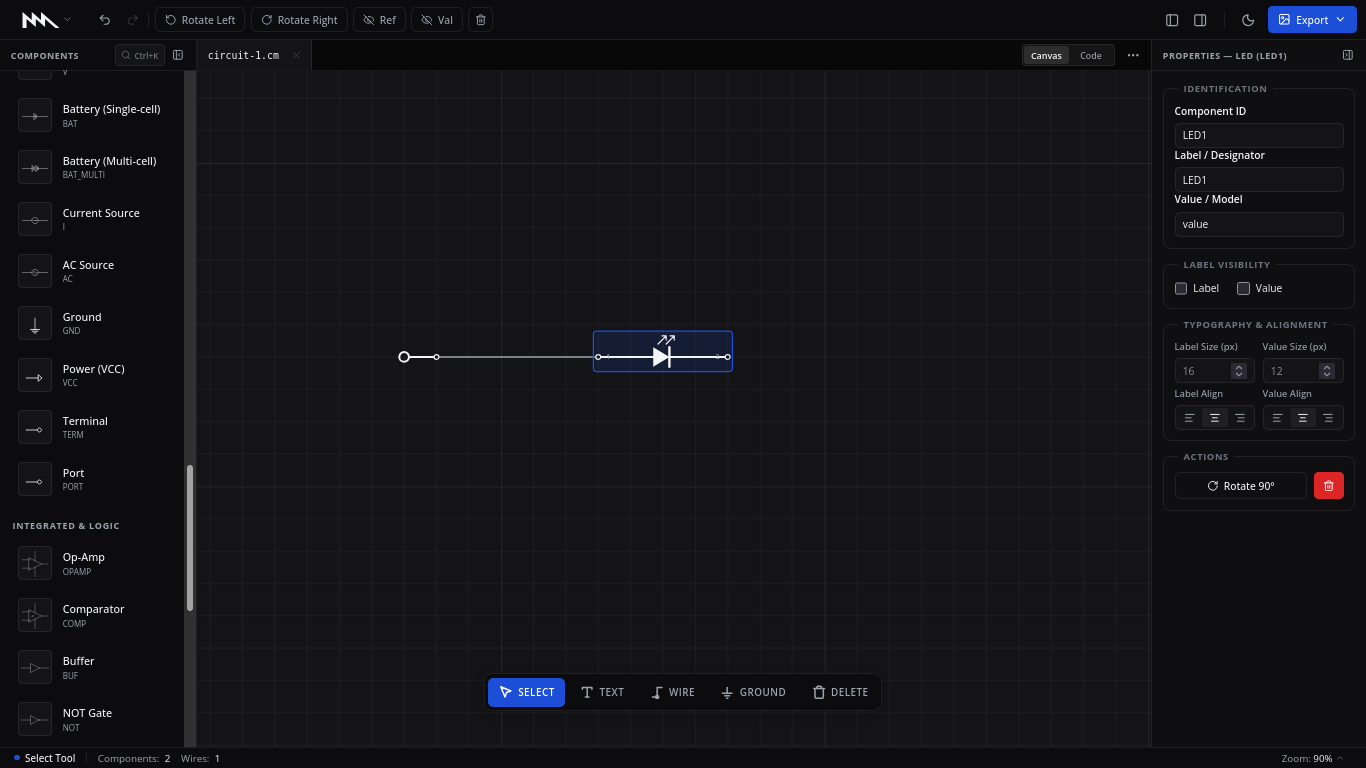
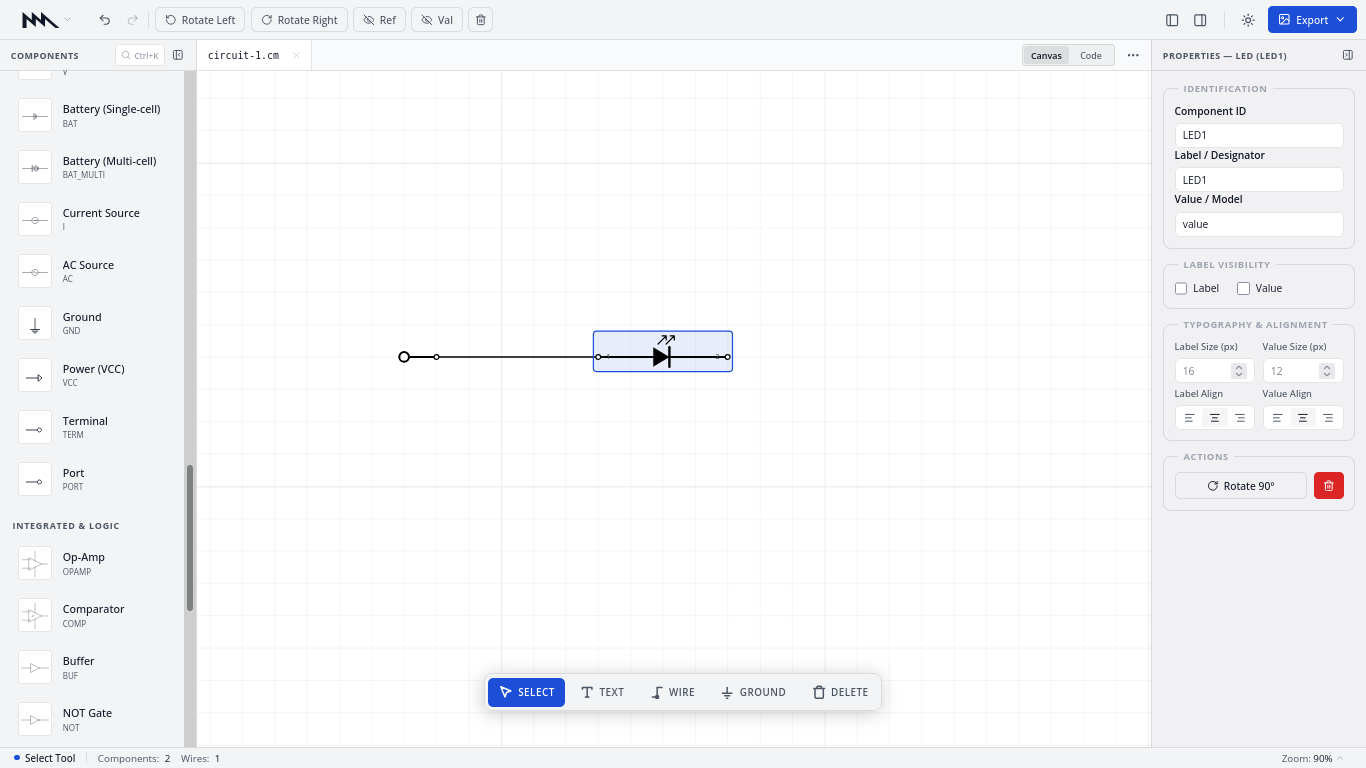
The right pane displays the schematic rendered as an interactive SVG workspace.
Toolbar Modes
Switch tool modes using the floating toolbar or single-key shortcuts:
- Select Tool (
V): Click elements to select. Drag bounding boxes to select multiple components simultaneously. - Wire Tool (
W): Click any component pin to start drawing a wire. Click target pins or empty grid points to complete routing. PressSpaceto flip between horizontal-first and vertical-first Manhattan paths. - Text Tool (
T): Click anywhere on the canvas to insert aTEXTdirective. - Ground Tool (
G): Place aGNDground reference symbol directly on the grid. - Delete Tool (
D): Click components or wire segments to remove them immediately.
Direct Manipulation
- Move Components: Drag symbols to new grid points. The editor updates
(X,Y)coordinates automatically. - Move Labels: Drag designator or value labels. The editor calculates pixel offsets and writes
refpos=orvalpos=in code. - Inline Editing: Double-click any designator, value, or text annotation to open an inline editor directly on the canvas.
3. Property Inspector
Open the right inspector panel (Ctrl + ]) to modify selected elements.
- ID Renaming: Edit unique component identifiers with live validation against duplicates and reserved keywords.
- Label Formatting: Adjust designator strings, values, font sizes, and text alignments (Left, Center, Right).
- Label Visibility: Toggle
showrefandshowvalswitches. - Batch Editing: Select multiple components to adjust font sizes, alignments, or rotations together.
4. Canvas Themes & Accessibility Modes
Select Canvas Setup from the top menu to customize visual styles.
Theme Presets
- Standard Modes: Crisp Light and Dark themes.
- Engineering Papers: Classic Blueprint, Warm Paper, and Yellow Paper.
- High-Contrast Modes: High-Contrast Light and Dark with bold stroke geometry.
- Color-Vision Safe Modes: Tailored high-contrast palettes for Red-Green (Protanopia/Deuteranopia) and Blue-Yellow (Tritanopia) color perception.
Grid Settings
Toggle between Dots and Gridlines, or adjust grid line opacity to suit technical drawing requirements.
5. Multi-Scale Export & Sharing
Select Export in the top toolbar or press Ctrl + E to open the Export Studio.
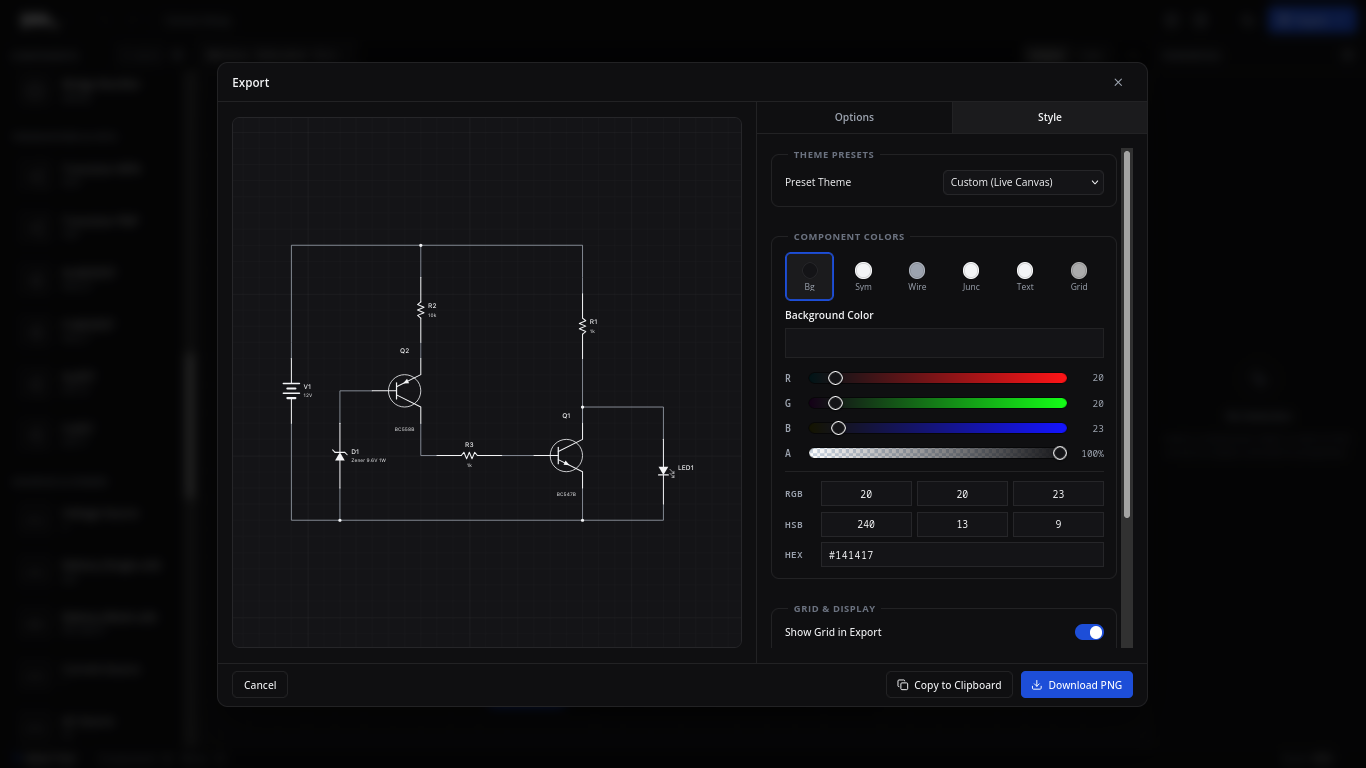
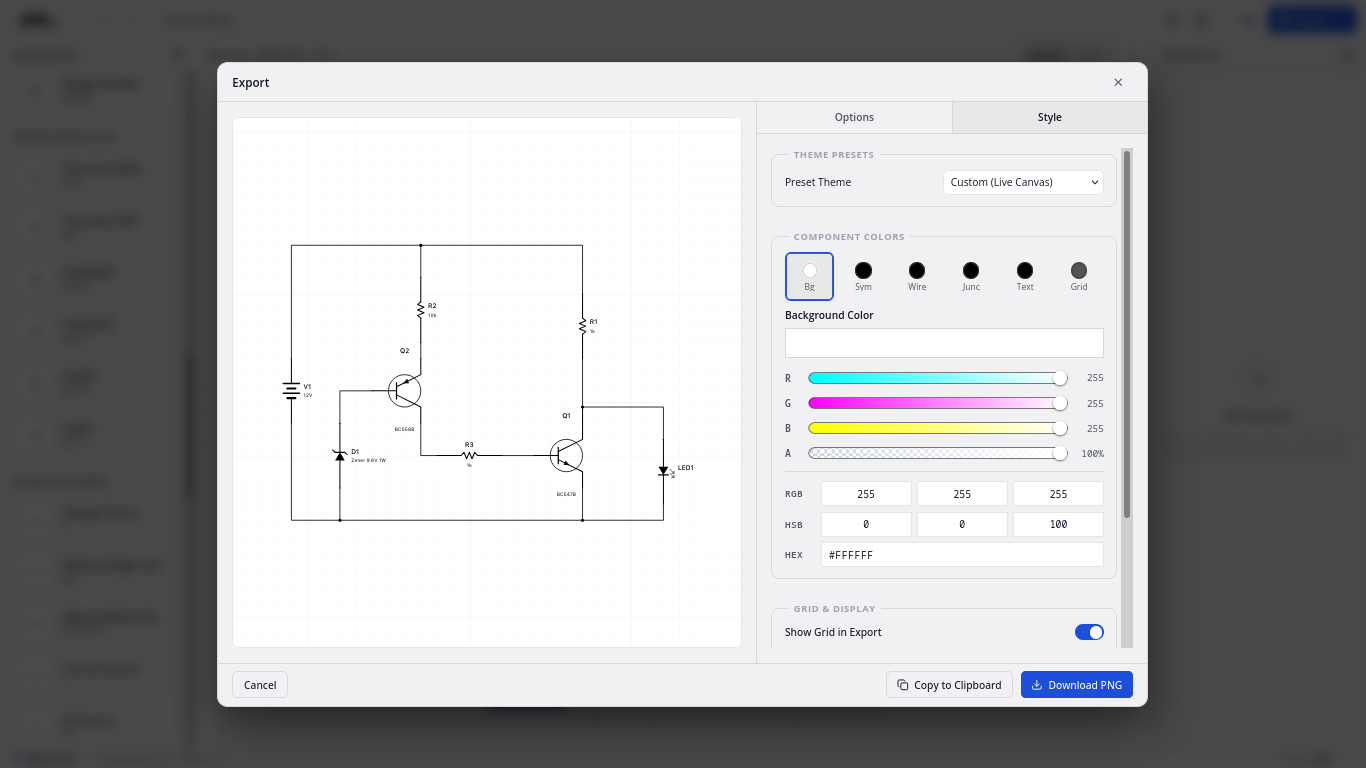
Export Formats
- Vector SVG: Exports resolution-independent vector graphics with transparent backgrounds for websites and documentation.
- Raster Formats: Generates crisp PNG, JPEG, or WEBP images.
Multi-Scale Asset Generation
Export multiple resolution scales in one operation:
- Generate
1x,2x,3x, and4xscale variants for high-DPI displays. - Set custom file name prefixes and suffixes.
Batch Project Export
Select Export All Tabs to compile all open schematic tabs into a single downloaded ZIP archive.
Clipboard & Deep-Link Sharing
- Copy to Clipboard: Copy schematic image bitmaps (PNG) or raw SVG markup directly to your operating system clipboard.
- URL Sharing: Share schematics through URL parameters using
/editor?code=<encoded_dsl>. The editor parses the parameter and initializes a fresh workspace.